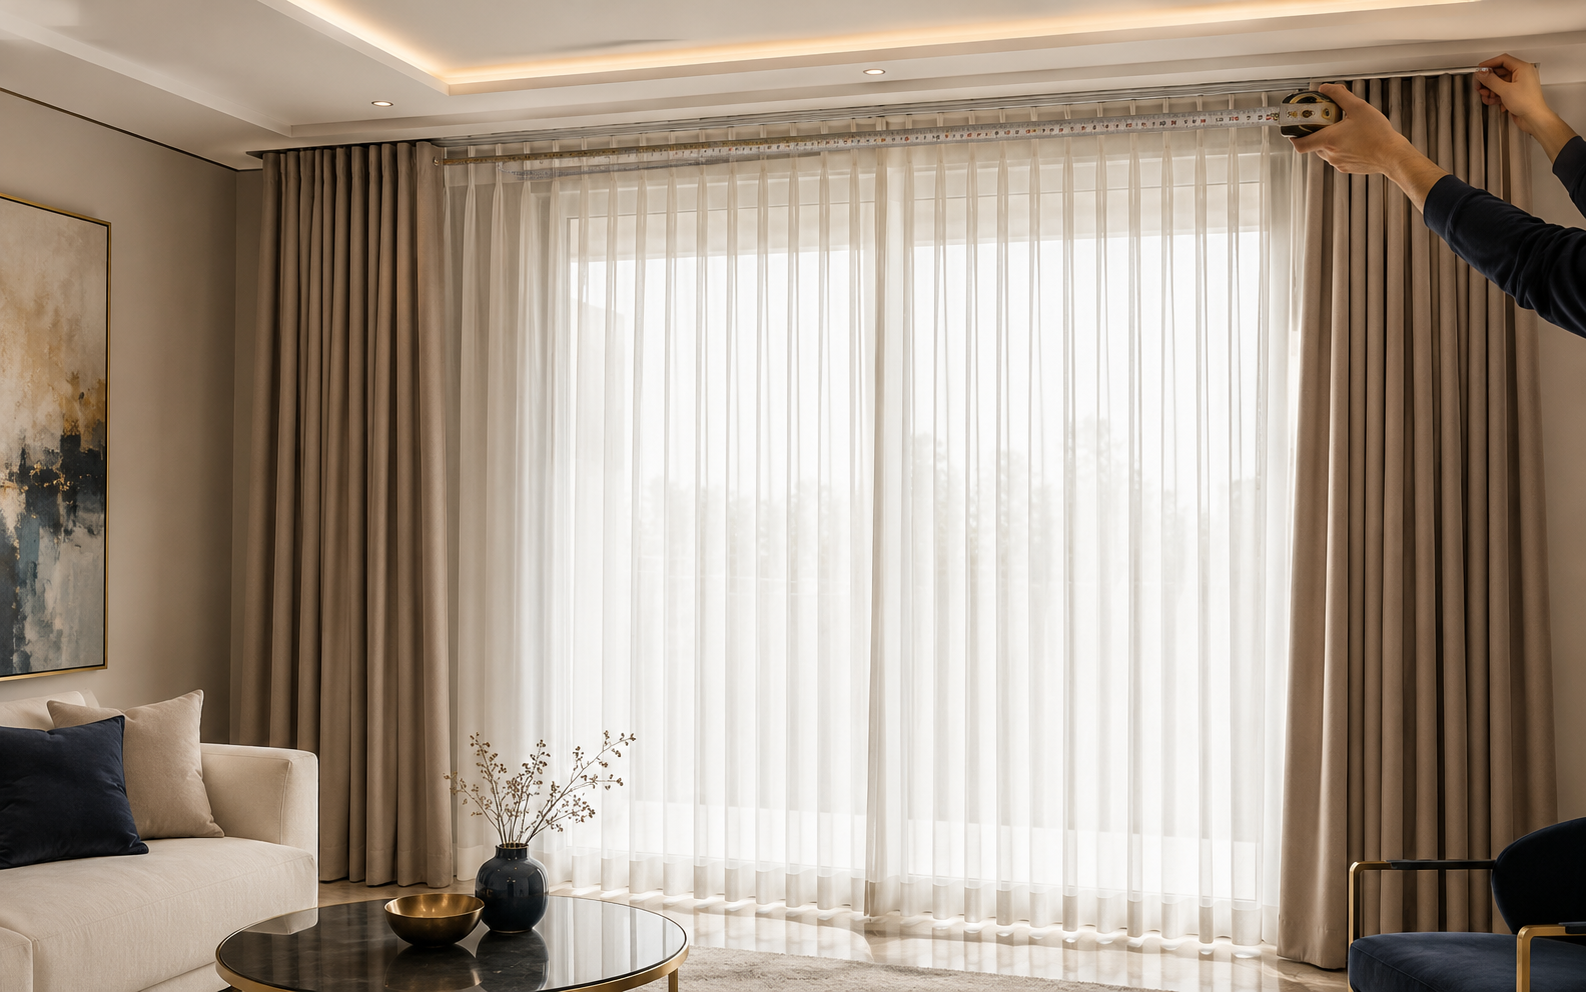
Measuring only the glass or window frame is not enough to order curtains correctly. A professional result depends on where the rail will sit, how wide the finished coverage must be, the curtain drop, the heading style, and the fullness ratio. A small error can leave light gaps, make the window look narrow, or cause the fabric to drag on the floor.
This complete curtain size guide explains how to measure curtain width and length in centimetres, calculate fullness, plan the rail, and avoid the mistakes that cause costly alterations.
🟠 QUICK ANSWER: Fix the rail position first. Measure the rail’s usable width, measure from the hanging point to the chosen finish, and then apply the correct fullness ratio. For many curtains, 2× fullness is a reliable starting point, but sheer, wave, blackout, and heavy decorative fabrics may need different ratios.
Table of Contents
- What you need before measuring
- Choose the rail position
- Measure the finished curtain width
- Calculate curtain fullness
- Measure the curtain length
- Allow for stack-back and obstacles
- Measure layered curtains
- Room-by-room recommendations
- A complete worked example
- Common measuring mistakes
- Final checklist
- Frequently asked questions
What You Need Before Measuring
Use a rigid steel tape measure, not a soft sewing tape. Keep a pencil, paper, step ladder, and level nearby. Record every measurement in centimetres and always write width × height in the same order.
Before starting, decide:
- Will the curtain use a ceiling rail, wall-mounted track, or decorative rod?
- Will it finish at the sill, below the sill, just above the floor, or on the floor?
- Will the window have one curtain layer or a double system such as sheer plus blackout?
- Will the curtains open from the centre, to one side, or by motor?
- Are there radiators, handles, air-conditioning units, furniture, or doors in the curtain path?
🟠 MODERN PERDE TIP: Preliminary measurements are useful for planning and an approximate quotation. Final made-to-measure production should begin only after the rail position and finished floor level are confirmed.
1. Choose the Rail or Rod Position First
The curtain is made to the rail—not simply to the window. Decide the mounting position before calculating fabric.
Ceiling-mounted rail
A ceiling rail creates a clean, tall look and works especially well for wave curtains, full-height sheers, blackout layers, and hotel-style designs. Check for ceiling details, coving, recessed lighting, access panels, and air-conditioning outlets before choosing the line.
Wall-mounted track or rod
When space allows, place the track above the window frame and extend it beyond both sides. A useful starting range is 15–30 cm beyond each side of the opening. Extra width lets more glass remain visible when the curtains are open and reduces light gaps when they are closed.
This is a planning range, not a fixed rule. Wide windows, heavy curtains, deep folds, or limited wall space can change the correct extension.
Measure the usable width
- For a curtain track, measure the full usable travel length.
- For a decorative rod, measure the usable span between the finials or end stops.
- For a split pair, measure the total span once; the total finished coverage is then divided between the two panels.
2. Measure the Finished Curtain Width
Do not order a curtain using only the glass width. The most important number is the finished rail or rod width that the curtains must cover.
If the rail is already installed, measure it from end to end. If it is not installed, mark the planned endpoints on the wall or ceiling and measure between them. Recheck the number before ordering.
For example:
- Window opening: 280 cm
- Planned extension: 20 cm on each side
- Finished rail width: 280 + 20 + 20 = 320 cm
The curtain must cover a 320 cm span, not only the 280 cm window.
3. Calculate Curtain Fullness
Fullness is the extra fabric that creates folds when the curtain is closed. A curtain with no extra width looks flat and unfinished.
Basic formula:
Total flat curtain width = usable rail width × fullness ratio
Typical fullness starting points
| Curtain or heading type | Typical starting ratio | Best for | Important note |
|---|---|---|---|
| Light sheer or voile | 2.0×–2.5× | Soft privacy and rich folds | Very transparent fabric may look better with more fullness |
| Wave / ripple fold | 1.8×–2.2× | Clean modern interiors | Use the ratio specified for the chosen carriers and tape |
| Pencil or gathered heading | 2.0×–2.5× | Flexible everyday curtains | Final appearance depends on tape and gathering |
| Pinch pleat | 2.0×–2.5× | Tailored living rooms and formal spaces | The workroom calculates pleats to the finished rail width |
| Heavy blackout or velvet | 1.6×–2.0× | Bedrooms and dramatic side panels | Too much fullness can become bulky and difficult to stack |
These are practical starting ranges. Fabric weight, pattern repeat, lining, heading tape, motor capacity, and rail system can all change the final calculation.
Fullness example
For a 320 cm rail with 2.1× fullness:
320 × 2.1 = 672 cm total flat curtain width
For two equal panels:
672 ÷ 2 = 336 cm flat width per panel
This does not mean you should buy exactly 6.72 metres of fabric. Fabric roll width, vertical seams, hems, heading allowance, shrinkage, and pattern matching affect the actual quantity. Give the finished rail measurement and selected style to the curtain maker for the production calculation.
🟠 MODERN PERDE TIP: If an order form asks for “finished width,” enter the width the curtain must cover. If it asks for “flat fabric width,” apply the fullness ratio. Never assume the two fields mean the same thing.
4. Measure the Curtain Length or Drop
Measure from the actual hanging point, not automatically from the ceiling or the top of the rod.
- For a track, use the runner or hook reference point specified for the system.
- For a rod with rings, measure from the ring eye or the point where the hook holds the curtain.
- For eyelet curtains, follow the maker’s allowance above the rod.
Take the drop at the left, centre, and right. Floors and ceilings are often slightly uneven. For curtains designed to float above the floor, the shortest safe drop usually prevents dragging. A professional installer may adjust individual hooks for a cleaner final line.
Curtain length styles
| Finish style | Recommended ending point | Appearance and use |
|---|---|---|
| Sill length | About 1 cm above the sill | Practical for kitchens or windows above furniture |
| Below sill | 10–15 cm below the sill | More coverage without reaching the floor |
| Floor float | 1–2 cm above the finished floor | Clean, practical, and easy to maintain |
| Floor kiss | Just touches the floor | Precise luxury finish; requires accurate measuring |
| Soft break | About 2–5 cm on the floor | Relaxed, elegant look with a small fabric break |
| Puddle | About 10–20 cm extra | Formal and dramatic, but collects more dust and needs styling |
Measure only after flooring, carpet, or skirting details are final. Even a small floor change can alter the result.
5. Allow for Stack-Back and Obstacles
Stack-back is the space occupied by the folded curtain when it is open. If the rail ends at the window frame, the stacked fabric can cover part of the glass and reduce daylight.
Plan more side space when using:
- Heavy blackout or velvet
- A high fullness ratio
- Wide windows or several joined panels
- Double-layer curtain systems
- Large wave folds
- One-way opening curtains
Also check that the moving curtain will clear window handles, radiators, heaters, door leaves, deep sills, furniture, sockets, and air-conditioning airflow. For motorized rails, confirm where the motor, power supply, and service access will sit.
6. How to Measure Double-Layer Curtains
For sheer plus blackout curtains, treat each rail as its own working line.
- Confirm the position of the inner and outer tracks.
- Measure the usable width of each track.
- Select the fullness for the sheer and blackout separately.
- Measure both drops from their actual hanging points.
- Confirm enough spacing between the tracks so hooks, folds, hems, and motor components do not rub.
- Decide whether both layers split in the centre or whether one layer parks to one side.
The sheer often uses more fullness than the heavier outer curtain. The correct ratio should be chosen with the fabric and heading system, not copied automatically from one layer to the other.
Room-by-Room Curtain Recommendations
| Room | Practical curtain plan | Suggested finish | What to prioritise |
|---|---|---|---|
| Living room | Sheer with decorative side curtains, or a full double layer | Floor kiss or 1 cm float | Proportion, daylight, elegant folds |
| Bedroom | Sheer plus lined blackout on a double rail | 1–2 cm above floor | Darkness, side overlap, quiet movement |
| Children’s room | Washable curtain with cordless or motorized control | 1–2 cm above floor | Safety, easy cleaning, secure installation |
| Kitchen | Short washable curtain, roller blind, or moisture-tolerant solution | Sill or below sill | Heat, grease, handles, worktops |
| Office | Wave curtain, sunscreen roller, or controlled sheer | Floor float or tailored sill finish | Glare control, neat operation, screen visibility |
| Hotel room | Sheer plus blackout with generous overlap | Precise floor float | Repeatable measurements, darkness, durability |
For homes where young children may be present, favour cordless, motorized, or otherwise inaccessible operating systems. The U.S. Consumer Product Safety Commission recommends cordless window coverings as the safest option.
Complete Worked Example
Imagine a bedroom window with these conditions:
- Window opening: 280 cm wide
- Clear wall available on both sides: 25 cm
- Chosen rail extension: 20 cm per side
- Finished rail width: 320 cm
- Hanging point to finished floor: 269 cm
- Selected floor clearance: 1 cm
- Final curtain drop: 268 cm
- Selected sheer fullness: 2.2×
- Selected blackout fullness: 1.8×
Sheer calculation
320 × 2.2 = 704 cm total flat width
For two panels: 704 ÷ 2 = 352 cm per panel
Blackout calculation
320 × 1.8 = 576 cm total flat width
For two panels: 576 ÷ 2 = 288 cm per panel
Both layers use a 268 cm finished drop, but their flat widths differ because their materials and fullness requirements are different. The workroom still needs to calculate actual fabric meterage, hems, seams, lining, and pattern matching.
10 Common Curtain Measuring Mistakes
- Measuring only the glass. Curtains normally cover a wider rail span.
- Buying the rail after ordering the curtain. The finished rail width controls the curtain size.
- Confusing finished width with flat fabric width. Fullness makes these different numbers.
- Measuring from the ceiling instead of the hanging point. Track and hook systems change the starting point.
- Taking only one drop measurement. Floors and ceilings may not be level.
- Ignoring radiators, handles, furniture, or doors. The curtain may rub, catch, or block airflow.
- Forgetting stack-back. Open curtains can cover too much glass.
- Using the same fullness for every fabric. Sheer, wave, velvet, and blackout behave differently.
- Measuring before the finished floor is complete. New flooring can change the drop.
- Rounding too early. Keep exact measurements until the installer or workroom confirms allowances.
Final Measuring Checklist
Before approving a made-to-measure curtain order, confirm all of the following:
- Mounting type: ceiling, wall track, or rod
- Exact usable rail width
- Left and right extension beyond the window
- Opening direction and panel split
- Actual hanging point
- Drop measured at left, centre, and right
- Floor or sill finishing style
- Curtain heading and fullness ratio
- Fabric weight, lining, and pattern repeat
- Stack-back space
- Clearance from handles, radiators, furniture, and doors
- Motor position and power point, if required
- Final measurements checked twice
Frequently Asked Questions
Should I measure the window or the curtain rail?
For curtains, measure the usable rail or rod width. The window measurement helps plan the rail, but the finished rail span determines the curtain’s coverage.
How much wider should a curtain rail be than the window?
A common starting point is 15–30 cm beyond each side when wall space allows. The correct extension depends on curtain weight, fullness, stack-back, light control, and nearby obstacles.
What is the best fullness ratio for curtains?
There is no single ratio for every curtain. Around 2× is a useful starting point, while light sheers may need more and heavy blackout or velvet may need less. Wave systems must follow the selected tape and carrier specification.
Should curtains touch the floor?
They can. A floor kiss gives a precise luxury look, while a 1–2 cm float is more practical and easier to keep clean. A puddle is decorative but requires more care.
Do I measure before or after installing the curtain rail?
Plan the rail first and, whenever possible, take the final drop after installation. This removes uncertainty about the exact hanging point.
How do I measure curtains for an uneven floor?
Measure left, centre, and right. For a practical floor float, use a safe drop that prevents dragging at the highest point, then fine-tune the hooks during installation.
Can I use the same measurements for sheer and blackout curtains?
They may share the same overall rail span, but each track, hanging point, drop, fullness ratio, and stack-back requirement should be checked separately.
Can I measure curtains myself?
Yes, rough measurements are useful for planning and an initial quotation. For custom curtains, large windows, layered systems, wave headings, or motorized rails, professional final measuring reduces the risk of expensive errors.
Plan Your Curtains with Modern Perde
The right measurement makes every later decision easier: fabric quantity, fold style, rail length, motor position, light control, and installation. Explore our curtain and fabric collection, compare manual and motorized rail systems, or contact Modern Perde with a room photo and approximate width and height. Our team can help refine the design and arrange final measuring for made-to-measure curtains, homes, offices, hotels, and larger projects.